How to Trade Gaps with Candlestick Patterns
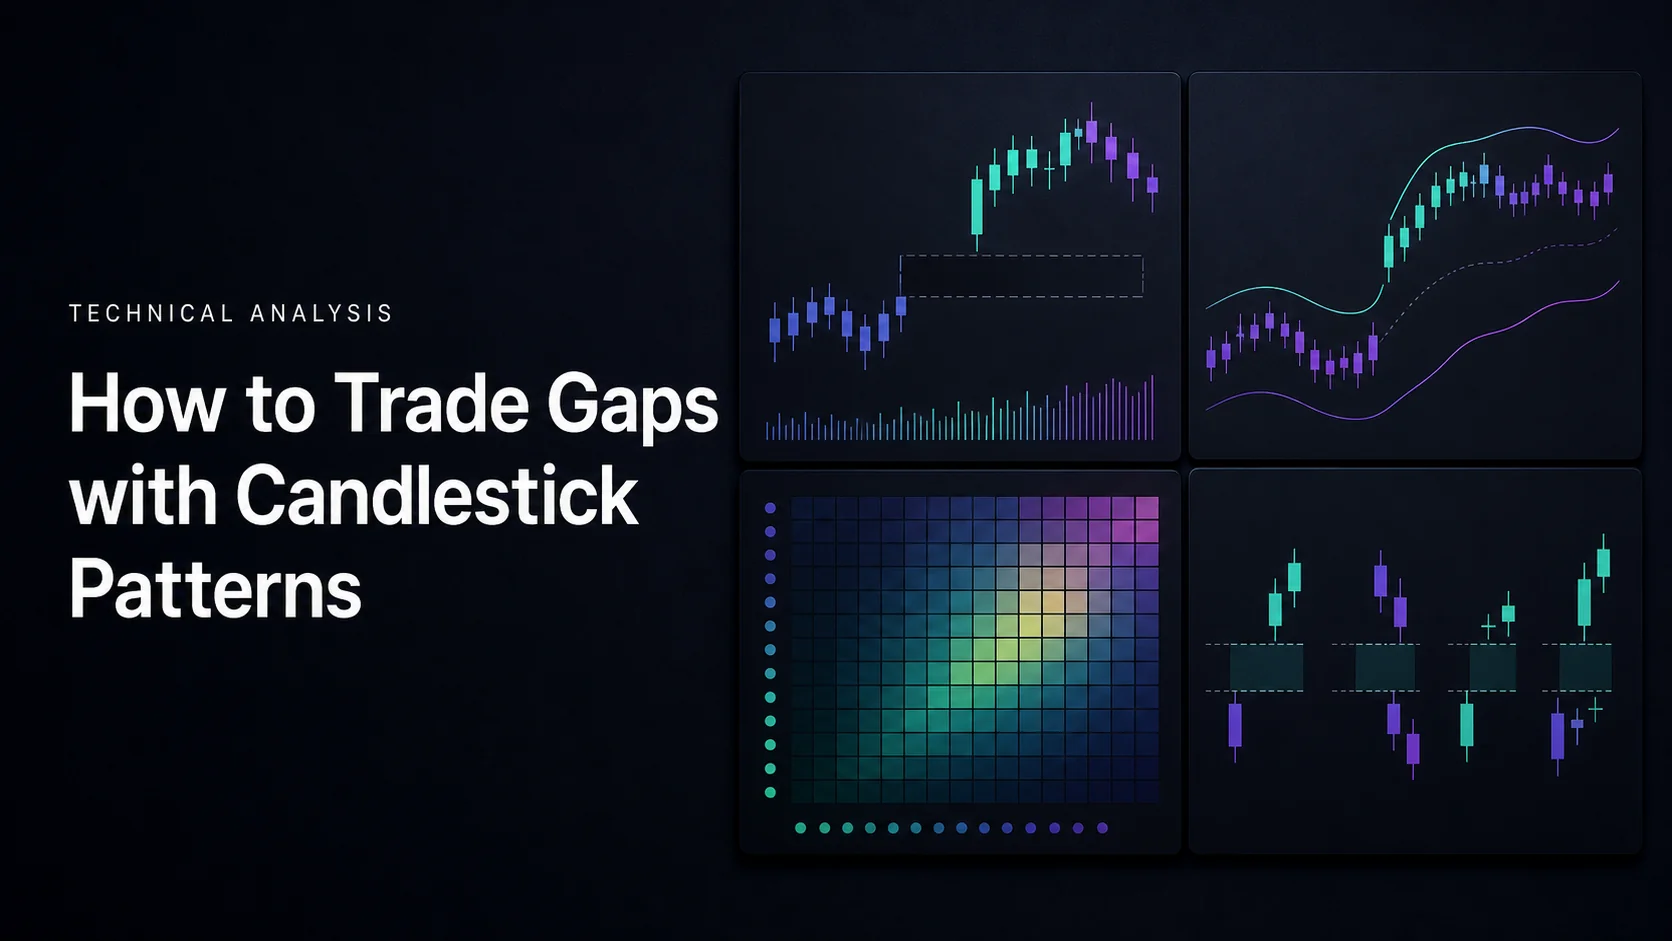
Trading gaps with candlestick patterns starts with defining the gap and waiting for an explicit price response. An opening jump, a full gap between adjacent bar ranges and a three-candle fair value gap are different structures. A candle can help describe the response, but it cannot guarantee continuation or a reversal.
Use the same symbol, trading session, timeframe and price-adjustment settings throughout the analysis. Then choose whether the strategy follows the gap or trades a return toward an earlier level. Native LuxAlgo charts and Quant, our coding agent, can help you inspect and test written rules; the trade still needs realistic execution and risk assumptions.
Define the Gap Before Classifying It
An opening gap compares the new session’s open with a chosen reference, commonly the previous session’s close. A full upward range gap requires the later bar’s low to exceed the earlier bar’s high; a downward range gap reverses that relationship. An opening jump can disappear during the session without leaving a full gap on the completed daily chart.
Example: the previous close is 50, its high is 51 and the next open is 52. The open-to-close difference is 2, or 4%. If the new session later trades down to 50.50, its range overlaps the prior session even though it opened higher. A return to 51 and a return to 50 are different milestones; specify which level counts as a fill in your test.
Regular-session and extended-hours charts may display different gaps because trading can occur between the two regular sessions. Missing data, thin trading, stock splits and dividend adjustments can also affect the display. A blank area on one feed does not prove that nothing traded there on every venue.
StockCharts’ gap-analysis guide distinguishes common, breakaway, runaway and exhaustion gaps. These are context-based interpretations. In particular, calling a gap “exhaustion” often depends on later failure; a real-time strategy must state what evidence was available at its decision point.
| Type | Context to investigate | What remains uncertain |
|---|---|---|
| Common | A gap inside a trading range or routine consolidation | A return toward the earlier price is possible, not assured within a fixed time. |
| Breakaway | A gap beyond a defined range or chart boundary | Whether the move holds outside the old range. |
| Runaway | A gap within an established directional move | Whether continuation persists; the gap is not necessarily halfway through the trend. |
| Exhaustion | A late-trend gap followed by a specified failure or reversal | It can resemble continuation before that later behavior appears. |
Do not assign universal fill probabilities or excellent risk-reward ratings to those names. The instrument, gap definition, holding period and exit rule determine the result. A large volume reading can accompany either continuation or failure, so it does not classify the outcome by itself.
Video: Understanding the Four Gap Types
This 9-minute, 7-second Tradersfly tutorial from Sasha the Options Coach introduces common, breakaway, runaway and exhaustion gaps. Use the historical examples to study context, while keeping the session and fill definitions above explicit in your own rules.
Read Candlesticks as Price Behavior
A candle’s body is the absolute difference between open and close; its full range is high minus low. Define the pattern on the timeframe being traded. A completed five-minute candle can be used at that close, while a daily candle still forming at the same moment is not a completed daily signal.
| Pattern | Definition to make explicit | Gap-trading limitation |
|---|---|---|
| Bullish or bearish engulfing | The second real body covers the first real body, with the specified direction and prior context | No universal 150% body-size requirement; wick coverage is a different condition. |
| Doji or spinning top | A small body relative to the candle range under a stated threshold | Indecision does not establish exhaustion or a reversal direction. |
| Hammer | Small body near the top of the range and a long lower shadow, with prior context | A long wick can be followed by more selling. |
| Three white soldiers or black crows | Three directional candles with defined successive closes, opens and wick limits | The third candle is needed before the complete pattern is available. |
| Upside Tasuki Gap | A bullish three-candle continuation structure with a remaining upward body gap | A partial retracement is not a guarantee that the gap remains open. |
Avoid Ambiguous Percentage Rules
A rule such as body no greater than 5% of the full range means |close − open| ÷ (high − low) ≤ 0.05, with a separate rule for a zero-range bar. It does not mean open and close can differ by 5% of the stock price. With high 105, low 95, open 100 and close 100.40, the body is 0.40 and the range is 10: the ratio is 4%.
For a hammer-style candidate, a lower shadow at least twice the body is a common screening convention. Specify the upper shadow and prior decline as well. Neither that ratio nor a doji threshold is a proven universal entry rule. A small body in the middle of a range is not automatically the same structure as a hammer near a gap boundary.
Keep the Tasuki Sequence Complete
For an upside Tasuki study, define a first bullish candle, a second bullish candle whose body gaps above the first, and a third bearish candle opening within the second body. The third closes into the body-gap area while leaving part unfilled. Some definitions use stricter range conditions; keep the convention consistent instead of mixing body gaps and wick gaps.
For a hypothetical body-based example, the first candle opens at 48 and closes at 50; the second opens at 52 and closes at 55; the third opens at 54 and closes at 51. The third body retraces into the 50–52 body gap without reaching 50. This illustrates the sequence, not a validated trade or an assertion that the full wick ranges are separated.
Choose Continuation or a Return Toward the Gap
Continuation hypothesis: price gaps above a predefined range, then pulls back toward a selected boundary and forms the stated completed-bar recovery signal. Define how far the pullback may travel, how long the candidate lasts and the next eligible entry price. Buying the opening print and waiting for a later recovery are different strategies.
Return hypothesis: price fails to hold above the chosen boundary and triggers a written reversal condition. Define whether the target is the prior high, prior close or another reference. Shorting an upward gap requires appropriate borrow and margin assumptions; a doji alone is not a complete short-entry rule.
A runaway gap can look like exhaustion until later bars resolve the move. Record the initial classification and the event that changes it. Do not label only losing continuation trades “exhaustion” afterward and exclude them from the continuation results.
Volume can be compared with a defined baseline, such as the same elapsed portion of previous sessions. Comparing the first five minutes with a full-day average is not like-for-like. Specify the feed and whether it provides traded volume or tick activity. No verified evidence here establishes a 62% win rate for entries during the first 30 minutes.
Set Targets from a Stated Reference
Gap-size multiples are one approach to test, not mandatory objectives. For a hypothetical reference close of 50 and open of 52, the opening difference is 2. Projecting one, one-and-a-half and two times that difference above 52 gives 54, 55 and 56. If the actual entry is 53, the remaining reward to each target is smaller.
| Illustrative exit | Price from a 52 reference | Fraction of initial position |
|---|---|---|
| One gap-size extension | 54 | 50% |
| One-and-a-half extension | 55 | 30% |
| Two-gap-size extension | 56 | 20% |
If all three exits fill at those prices after an entry at 52, the weighted gross gain per original share is 0.5 × 2 + 0.3 × 3 + 0.2 × 4 = 2.70. That outcome assumes every target is reached and ignores costs. A partial target followed by a stop on the remainder produces a different result.
If a trailing stop begins after the first target, specify the ATR length, multiplier, update timing and remaining quantity. A one-ATR trail is a parameter to evaluate, not a universal way to protect profits. The gap size alone does not establish a 1:2 risk-reward ratio; the actual stop and entry determine the risk side.
Size for the Planned Stop and Allow for Worse Fills
A stop below a pre-gap range, below a selected swing or inside the gap reflects a different exit condition. There is no fixed stop placement for each gap label. Choose the written failure condition and an actual-price level, then calculate size and check exposure.
For shares, planned price risk is quantity × entry-to-stop distance. With a hypothetical $100,000 account and a chosen $1,000 risk budget, an entry at 52 and stop at 51 would permit 1,000 shares only if costs were ignored. Reserving $100 for estimated costs leaves $900 for price risk and therefore 900 shares.
Those 900 shares have a notional value of $46,800. If the exit gaps to 49, the price loss is 900 × 3 = $2,700 before costs. Stops do not guarantee the planned budget. Futures, forex and leveraged instruments require contract values, currency conversion and margin checks rather than the share formula alone.
Choose risk according to liquidity, event exposure and combined positions; risking 1–2% is not compulsory. Wider stop distances generally imply fewer units for the same budget. Opening auctions, halts, earnings and limited available liquidity can make fills materially different from a chart-level assumption.
Study Gap Rules in Native LuxAlgo Charts
Open native LuxAlgo charts and use ordinary candles with the required symbol, session and timeframe. Add the relevant study through the Indicators picker, inspect values in the Data window and save consistent settings. Check the LuxAlgo Library for the particular calculation rather than assuming every gap study uses the same definition.
Ask Quant, our coding agent to express the whole rule. For example: “Compare the regular-session open with the previous regular-session close. Expose the minimum gap percentage, a completed-candle recovery condition, expiration, next eligible fill, stop, targets, position sizing and costs. Keep opening differences separate from full-range gaps.” Inspect the generated code and run the strategy manually.
Check individual trades and failed candidates before reading totals. Record both partial fills of the price gap and actual order fills clearly; they are different events. Compare complete samples with the same session data and keep a later period outside parameter selection.
Distinguish Imbalances from Session Gaps
A fair value gap is a three-candle condition: a bullish one has the current low above the high two bars earlier, a bearish one has the current high below the earlier low. The middle candle can trade through the highlighted area, so it is not the same as a session with no trading at those prices. The Library’s imbalance tools draw these areas on a Quant Chart, and a detection or mitigation alert is a notification, not a completed order. They describe specific candle relationships, not proof that price must revert or that the asset is fundamentally mispriced.
Frequently Asked Questions
Does every gap eventually fill?
No. Define the reference level and time horizon before measuring fills. A gap can remain open, partly retrace or continue farther away. Its classification does not guarantee a return.
Is an opening gap the same as a fair value gap?
No. An opening gap can compare a session open with a previous close. A fair value gap is a specified three-candle relationship, and its middle candle may have traded through the area.
Does an engulfing candle need to be 150% larger?
No universal 150% rule defines engulfing. Specify real-body coverage, direction and context. Requiring a larger percentage is an additional filter to test.
Can a doji prove that a gap is exhausted?
No. A small body describes the relationship between open and close. A reversal strategy needs a further defined trigger, execution assumption and exit rule.
How should gap-trade position size be calculated?
For shares, divide the price-risk budget after estimated costs by entry-to-stop distance, then check exposure. Account for gaps through the stop and adapt the calculation for other instrument types.
How can LuxAlgo help test a gap strategy?
Use native LuxAlgo charts to inspect consistent session data. Quant, our coding agent, can help express the rules; inspect generated code, run the strategy manually and review individual trades. TradingView imbalance tools are a separate workflow.
Read next