Setting Up Trading Bots: Zero Code Walkthrough
You can configure an alert-based trading workflow without writing a full trading program. The important steps are choosing precise rules, testing them, connecting the correct alert source to a compatible execution service, and checking what actually reaches the broker. A signal, a webhook message and a filled order are three different events.
Start with LuxAlgo's native charts to investigate the setup. Quant, our coding agent, can turn a plain-language specification into chart-based strategy code; inspect the code and run it manually. That reduces the amount of code you need to write, but it does not remove the need to understand timing, sizing and failure conditions.
Automation can make repeated decisions more consistent. It cannot eliminate the biases in strategy selection, guarantee a fill, or supervise itself. A cloud service may operate while your computer is off, but trading still depends on market hours, data availability, connectivity and the rules of your account.
Choose Your Workflow Before Buying Tools
Use native charts and Quant for strategy research and on-chart testing. To automate, route a strategy alert to a compatible execution connector. These are distinct environments; a result in one does not automatically configure the other.
For broker execution, a third-party service needs a supported account connection and the message format it expects. TradersPost is one example documented by LuxAlgo. It separates a strategy and its webhook URL from an account-specific subscription that sets position size and submission preferences. Confirm support for your broker, instrument, region and account type before subscribing.
| Layer | Purpose | Verify |
|---|---|---|
| Chart research | Define and test the rule | Data, timing, costs and code |
| Alert source | Report a configured event | Condition and correct message syntax |
| Execution connector | Route the event to an account | Symbol, action, quantity and account |
| Broker | Accept, reject or fill the order | Actual orders and position state |
Required Tools and Current Plans
For native research, start with a LuxAlgo account and a clearly defined market and timeframe. Free includes a limited monthly credit allowance and chart access; higher tiers expand capacity. The current plan names are Free, Premium, Ultimate and Ultra.
LuxAlgo's regular monthly prices and annual billing differ. At this review, Premium is $67.99 monthly or $479.88 billed annually, Ultimate is $119.99 monthly or $719.88 annually, and Ultra is $229.99 monthly or $1,439.88 annually. Annual equivalents are $39.99, $59.99 and $119.99 per month respectively, paid annually. These are standard prices before temporary promotions; check the pricing page and checkout for current terms.
Match the plan to the exact workflow shown in your account. The main pricing page and legacy Strategy Alerts documentation describe different alert allowances, so do not use a legacy limit as a universal platform entitlement. Verify access to the particular alert interface before paying for a plan or connector.
1. Define One Strategy and Its Exit
Write down the symbol, timeframe, signal condition, decision timing, position direction and exit rule. Decide whether a repeated signal should be ignored, add exposure or replace an existing order. A long-entry alert and a long-exit alert must have distinct, correctly mapped meanings.
For example, test one entry condition on a completed bar, allow only one position, and define the exit before connecting an account. Specify what happens when an exit arrives while the entry is still pending. The rule should be understandable without relying on an attractive chart or a high historical win rate.
Select the particular Library tool and condition that match your written rule. More combined signals do not automatically create a better strategy.
2. Research the Rules on Native Charts
Use LuxAlgo's native charts to inspect the setup and ask Quant to explain or implement its logic. Check the generated code for the intended entry, exit, timeframe and completed-bar behavior. Run it manually and compare several signals with the underlying bars before interpreting the performance report.
Test with explicit commission, slippage, sizing and date assumptions. Six months of history may be too narrow for the idea, and 20–30 simulated trades are a workflow rehearsal rather than proof of profitability. Separate development from later data and compare with a simple baseline.
Keep the baseline chart and related experiments together in a workspace. Record each change so an altered setting does not become confused with the version that produced the original result.
3. Configure Alerts in the Correct Interface
Create the alert from the strategy on your chart, choose the supported condition and confirm how its message reaches the connector. Use the connector's current message template rather than inventing a universal order message. After changing a strategy's settings, recreate the alert and test again; an existing alert may keep the configuration used when it was created.
4. Connect a Paper Account and Test the Entire Route
In a supported connector such as TradersPost, connect a paper account, create a strategy, then create the subscription that links that strategy to the intended account. Configure allowed instruments, order sizing and submission preferences. Copy the strategy's receiving webhook URL into the appropriate alert interface and use its supported payload template.
Treat receiving URLs and authentication values as private. Keep live accounts disconnected or disabled during setup testing, and verify the account identifier in the connector rather than relying on a similar display name. Enabling TradingView Paper Trading by itself does not establish this external alert-to-broker route.
Test entry, exit, duplicate signals, an invalid symbol, a rejected order and a delayed message. Compare the alert log, connector log and paper broker's orders and positions. A successful HTTP response or an accepted order is not the same as a completed fill. Record discrepancies and stop testing new entries until the account state is understood.
| Test event | Expected check |
|---|---|
| Entry and exit | Correct action and final account position |
| Repeated signal | No unintended duplicate exposure |
| Invalid symbol or rejection | Visible failure without blind retries |
| Delayed signal | Defined policy for stale instructions |
| Pause | New signals stopped; existing orders and positions checked separately |
TradersPost's current documentation says it is not intended for high-frequency or sub-minute strategies and does not provide a broker-state feedback loop for strategy logic. Account for pending orders and conflicting signals in your design, and do not assume the source chart automatically learns what happened at the broker.
5. Size Positions and Plan for Failure
ATR measures recent price movement, not a guaranteed maximum loss. For a simple cash-equity example, assume a $10,000 account, a hypothetical 0.5% planning budget and a $2-per-share ATR. A stop distance of 1.5 times ATR is $3. The $50 budget divided by $3 allows 16 whole shares after rounding down, for $48 of planned price risk before costs.
This percentage and ATR multiplier are illustrative, not recommended settings. If the exit occurs $5 below entry after a gap, 16 shares lose $80 before costs. Futures, FX and other products need their contract multiplier, currency conversion and margin rules included; dividing dollars by a price distance alone may give the wrong unit size.
Moving a stop to entry after a 1-ATR gain or trailing it at 1.5 ATR are hypotheses to test. Entry price is not necessarily economic breakeven after fees and slippage, and a tighter stop can increase premature exits. A screener can help identify candidates; it does not enforce broker risk limits.
Define maximum exposure, outstanding orders and loss thresholds, plus a response to stale data or disconnection. Know how to pause signals, cancel pending orders and close positions; these are separate actions. Pausing an alert does not automatically flatten the broker account.
Monitor and Review the Bot
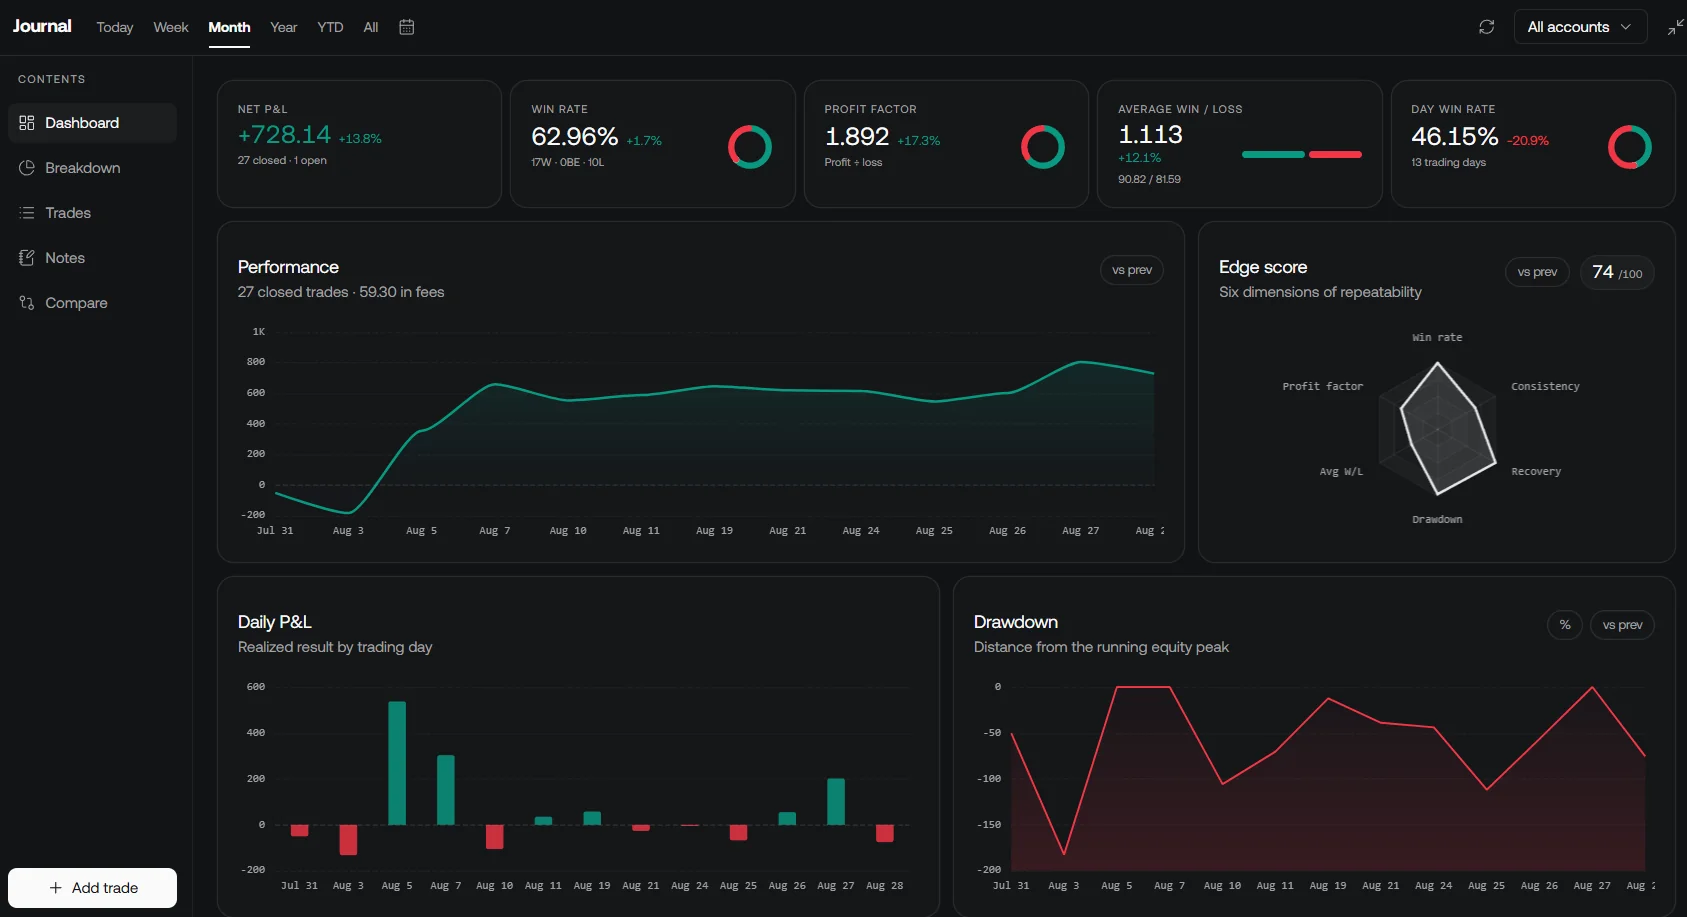
Track net results, drawdown, win/loss sizes, profit factor, execution costs and differences between planned and actual fills. Review account connections and running alerts after every settings change. Avoid repeatedly optimizing the same history until a result looks attractive.
Use LuxAlgo's native journal for compatible trade imports or connections and keep paper and actual trades clearly identified. The journal helps review recorded outcomes; it is not confirmation that an automation route has executed correctly in real time.
Before Considering Live Automation
Complete the paper route first, reconcile orders and positions, and record the exact strategy and alert settings. Decide whether the observed behavior justifies any further deployment. No-code configuration can reduce implementation effort, but reliable operation still requires testing, monitoring and an explicit way to stop.
Frequently Asked Questions
Can I set up a trading bot without coding?
You can configure supported alert conditions and an execution connector without writing a full program. You still need precise rules, correct account and message settings, and paper testing of the entire route.
Does a Quant backtest automatically trade my broker account?
A native chart backtest is a research result. It does not confirm a broker connection or an executed order. Verify the specific supported alert and execution route separately.
Which LuxAlgo plan do I need?
Choose the plan for the specific features available in your account. Free, Premium, Ultimate and Ultra have different capacities. Annual equivalents differ from monthly billing, and legacy alert instructions should not be treated as universal plan limits.
How should I test risk controls?
Use a paper account to check entries, exits, duplicate or stale signals, rejected orders and the pause procedure. Reconcile actual simulated positions with the intended state. ATR sizing and stops cannot guarantee a maximum loss.
Read next